AI-Assisted ns-2 Learning
Section outline
-
The true sign of intelligence is not knowledge but imagination. — Albert Einstein.
Welcome to the AI-Assisted ns-2 Learning course! This course will guide you on how to effectively use artificial intelligence and large language models (LLMs) to learn about and create network simulations with ns-2. We'll explore how to leverage these powerful tools to accelerate your understanding, debug code, and build complex network scenarios more efficiently.
Q: What is ns-2?:
-
A: ns-2 is a classical discrete-event network simulator for Internet systems. It's used by researchers and developers to simulate the behavior of networks.
Q: How can AI help with ns-2?:
-
A: AI can help you by generating code snippets, explaining complex concepts, debugging errors, and suggesting improvements for your simulation scripts.
Q: What LLMs should I use?:
-
A: Popular LLMs like ChatGPT, Bard, and Claude are excellent choices. The key is knowing how to ask the right questions.
Q: Is using AI cheating?:
-
A: No, using AI is a learning tool. The goal is to understand the code, not just copy and paste it. We'll focus on how to use AI to build your understanding.
-
-
Problem: You need to set up a basic ns-2 simulation but don't know where to start
Start with simple prompts like, "Write a basic ns-2 tcl script to create two nodes and a point-to-point link between them."
Example Prompt: Generate a simple "Hello World" style ns-2 script and explaining each part of the code.Hello World ns-2 Script
Here is a simple ns-2 script that creates a basic network with two nodes and a point-to-point link. This is a great "Hello World" equivalent for network simulation.
# --- 1. Simulation Setup ---
# Create a new simulator instance
set ns [new Simulator]

# Open a NAM trace file
set nam_file [open out.nam w]
$ns namtrace-all $nam_file

# --- 2. Network Topology ---
# Create two nodes
set n0 [$ns node]
set n1 [$ns node]

# Create a duplex-link between them
# Bandwidth: 1.5Mb, Delay: 10ms, Queue type: DropTail
$ns duplex-link $n0 $n1 1.5Mb 10ms DropTail

# --- 3. Traffic and Agents ---
# Create a UDP agent and attach it to n0
set udp [new Agent/UDP]
$ns attach-agent $n0 $udp

# Create a CBR traffic source and attach it to the UDP agent
set cbr [new Application/Traffic/CBR]
$cbr set packetSize_ 500
$cbr set interval_ 0.005
$cbr attach-agent $udp

# Create a Null agent (receiver) and attach it to n1
set null_agent [new Agent/Null]
$ns attach-agent $n1 $null_agent

# Connect the sender (n0's UDP) to the receiver (n1's Null)
$ns connect $udp $null_agent

# --- 4. Event Scheduling ---
# Schedule a traffic start event at 0.5s
$ns at 0.5 "$cbr start"

# Schedule a traffic stop event at 4.5s
$ns at 4.5 "$cbr stop"

# Stop the simulation at 5.0s
$ns at 5.0 "finish"

# --- 5. Finish Procedure ---
# This procedure closes files and launches NAM
proc finish {} {
    global ns nam_file
    $ns flush-trace
    close $nam_file
    exec nam out.nam &
    exit 0
}

# --- 6. Run the Simulation ---
$ns run
Explanation of the Code
1. Header Files and Namespace
-
#include "ns3/...-module.h": These lines include the necessary header files for the ns-2 modules we will be using, such as the core, network, and point-to-point modules. -
using namespace ns3;: This line allows us to use ns-2 classes directly without thens3::prefix, making the code cleaner.
2. Main Function
main()-
The
main()function is the entry point of the program, just like in any other C++ application. -
int argc, char *argv[]: These are the standard command-line arguments that can be used to pass parameters to the simulation.
3. Creating Nodes
-
NodeContainer nodes;: This creates an object to hold our nodes. -
nodes.Create(2);: This command creates two simulation nodes. In ns-2, a node is analogous to a computer or device.
4. Creating the Channel and Devices
-
PointToPointHelper pointToPoint;: This is a "helper" class that simplifies the creation of a point-to-point link. -
SetDeviceAttribute(...)andSetChannelAttribute(...): These lines configure the link's properties, such as the data rate (5 Mbps) and propagation delay (2 ms). -
NetDeviceContainer devices;: This object will hold the network devices (e.g., network interface cards) for the nodes. -
devices = pointToPoint.Install(nodes);: This command creates the link and installs a network device on each of the two nodes.
5. Installing the Internet Stack
-
InternetStackHelper stack;: This helper class simplifies the installation of the network stack (including TCP/IP, UDP, etc.) on the nodes. -
stack.Install(nodes);: This installs the full Internet protocol stack on both of our nodes, which is necessary for them to communicate.
6. Assigning IP Addresses
-
Ipv4AddressHelper address;: This helper is used to assign IP addresses to the network devices. -
address.SetBase("10.1.1.0", "255.255.255.0");: This sets the network base and subnet mask for the IP addresses. -
Ipv4InterfaceContainer interfaces =
            address.Assign(devices);
: This assigns IP addresses (e.g., 10.1.1.1 and 10.1.1.2) from the specified network to the two devices.
7. Running the Simulation
-
Simulator::Run();: This is the most important command. It starts the discrete-event simulation, running all the scheduled events. -
Simulator::Destroy();: This cleans up all resources used by the simulation. It's good practice to call this at the end of every simulation.
Be specific in your prompts. State the ns-2 version you are using.Don't use vague prompts like "make an ns-2 simulation.Try the above simulation on our paid Interactive Playground!.
Note: The interactive simulation playground of this course will be available only after purchasing the playground for this course!.If you run the code, you will not see any output in the terminal
Click on the following image to open iPlayground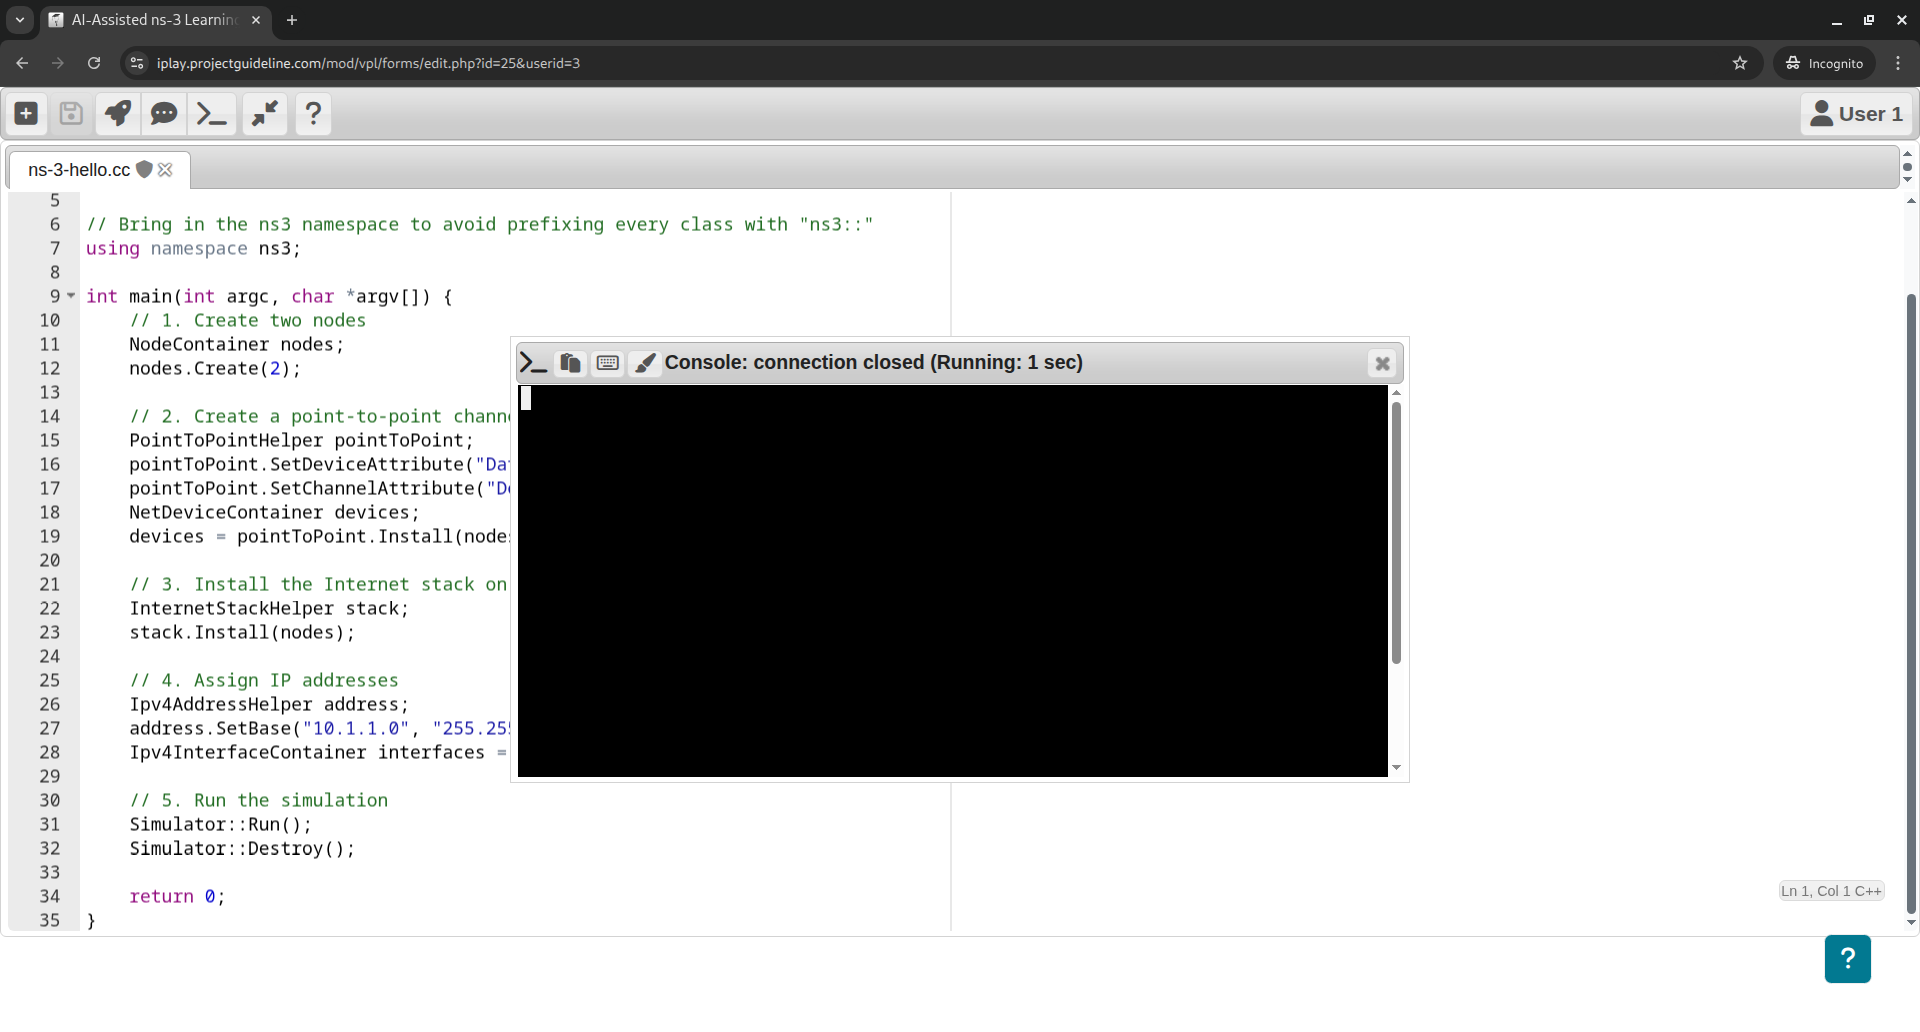 Things that can be tried :
Make some changes in the code, so that you can understand the completion of the each step of the simulation.
Just convert the comments 1 to 5 as print statements and make it print the step on the Console/Terminal before starting a step.
Manually add some print commands to print some ns-2 events on the Console/Terminal. -